1
Choose your board
The installer will load the matching firmware and pinout.
Choose your ESP32 board, flash the firmware over USB, save your Wi-Fi and printer settings, and get the correct wiring diagram for your exact board.
Complete the steps in order. The firmware is generic; your personal settings are written to the ESP32 after flashing.
The installer will load the matching firmware and pinout.
These values are not uploaded to GitHub or stored by this page.
Connect the selected ESP32 to your computer with a USB data cable.
Select Install in the ESP Web Tools dialog. When it is done, close the dialog before continuing to Step 4.
The values from Step 2 are sent directly over USB Serial and saved in NVS.
Flash the device first, then save the settings.
No serial session yet.
After configuration succeeds, the exact pinout for your selected board is highlighted below.
Your selected board pinout will appear here after settings are saved.
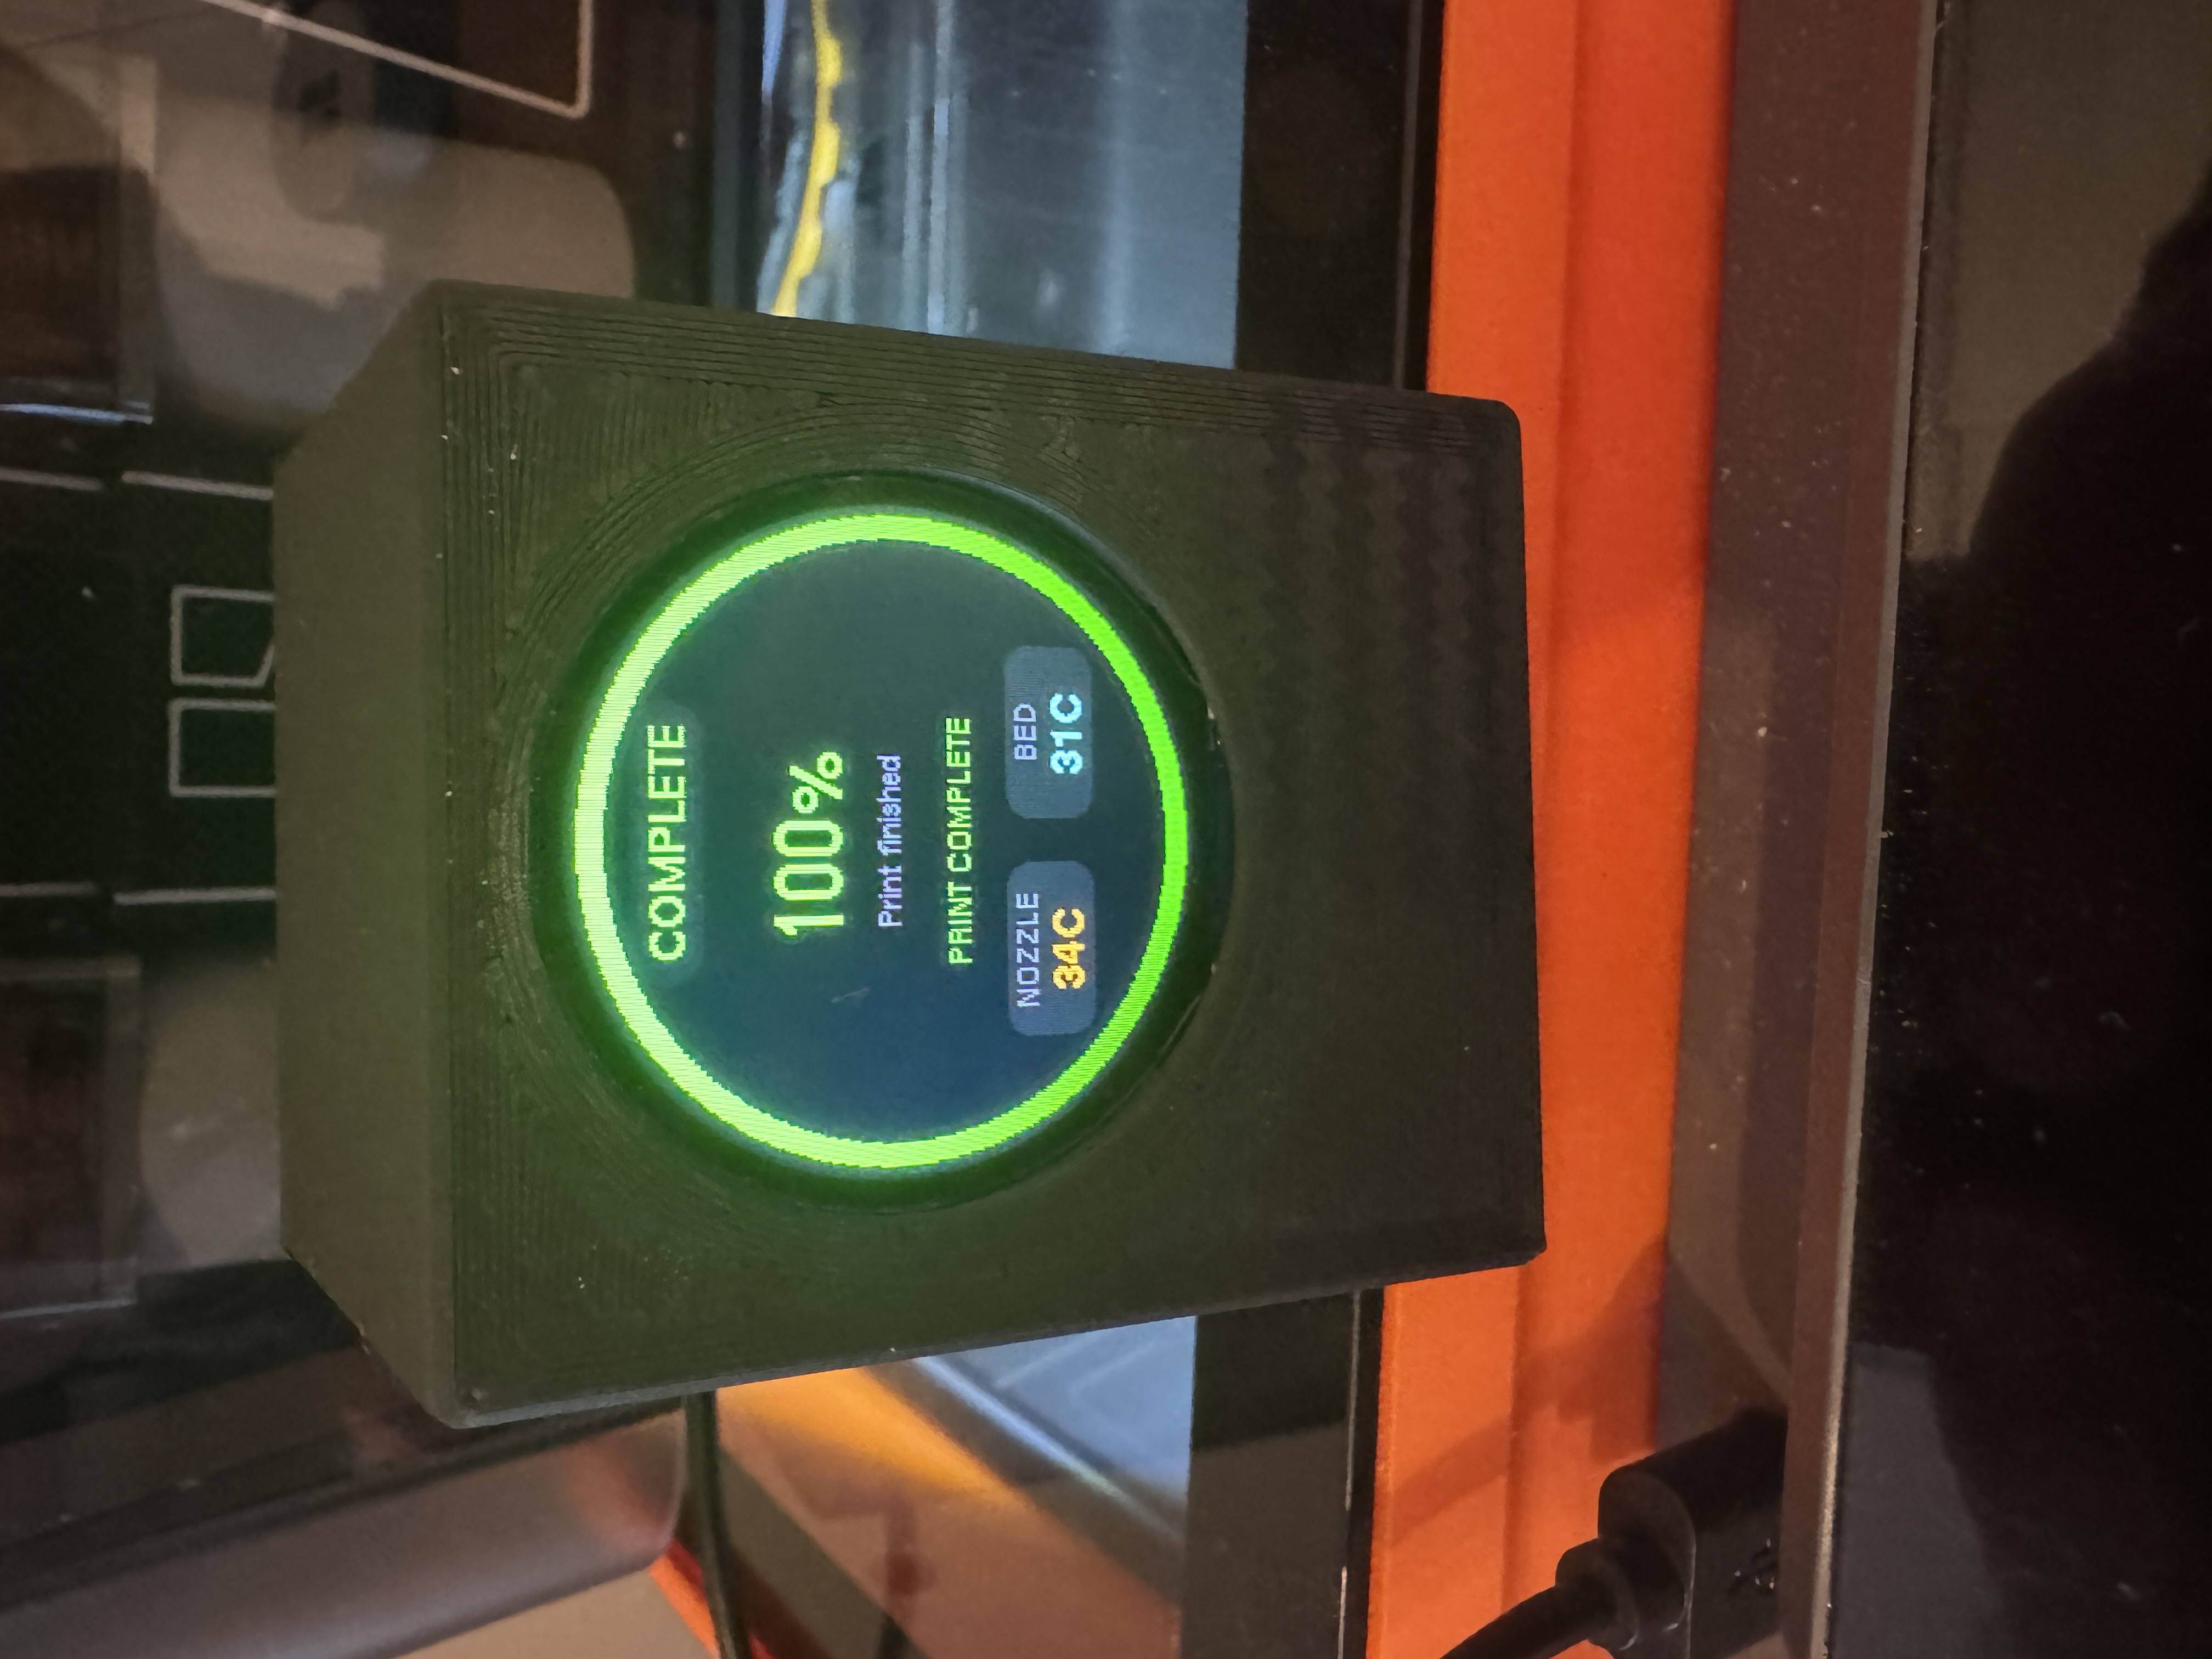
assets/project-display.jpg

assets/Project-Build.png
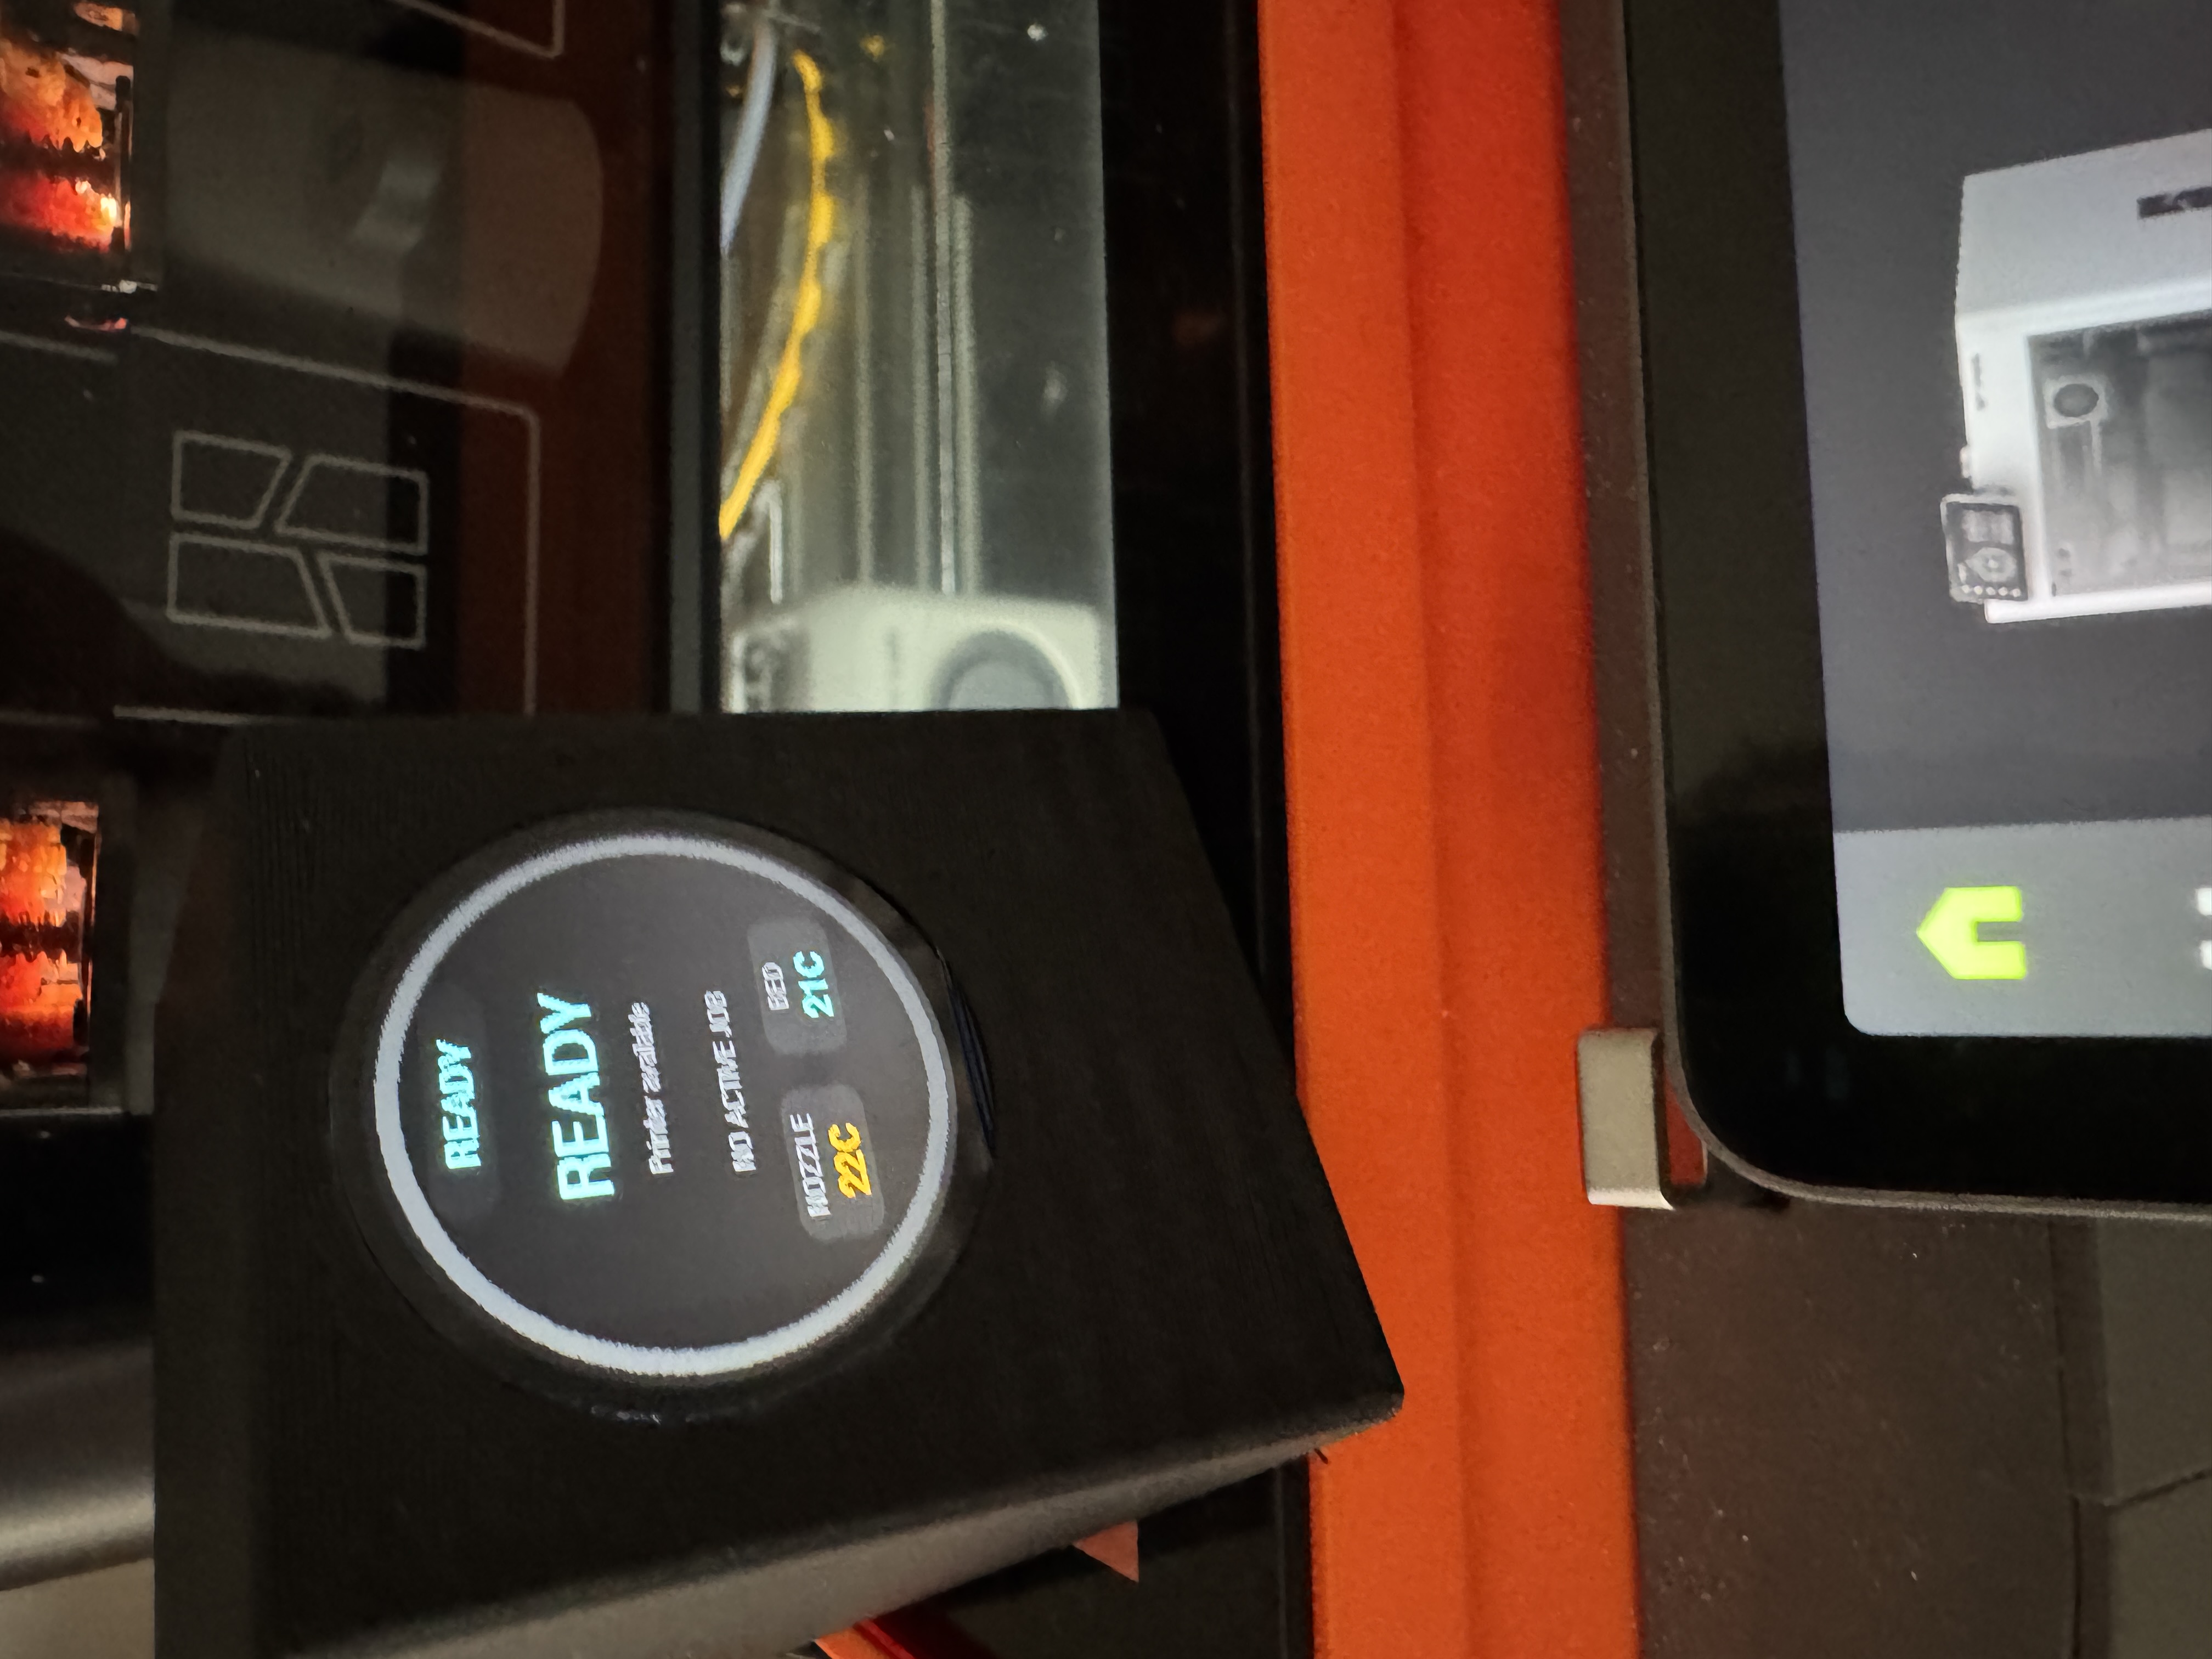
assets/project-printer2.jpg
ESP Web Tools flashes a board-specific firmware image. The firmware then accepts a small JSON configuration over USB Serial and stores it in ESP32 Preferences/NVS.
Wi-Fi credentials and the Bambu LAN Access Code are therefore not compiled into the public firmware image and are not committed to GitHub.